How to Record Vocals at Home UK: Step-by-Step Beginner's Guide
Recording vocals at home is more achievable than ever—you don't need thousands of pounds or a professional studio. This guide walks you through the essential chain: microphone, audio interface, recording software, and technique. Treat this as a foundation rather than a shopping list; the best setup for you depends on your space, budget, and what you actually plan to record.
What You Actually Need
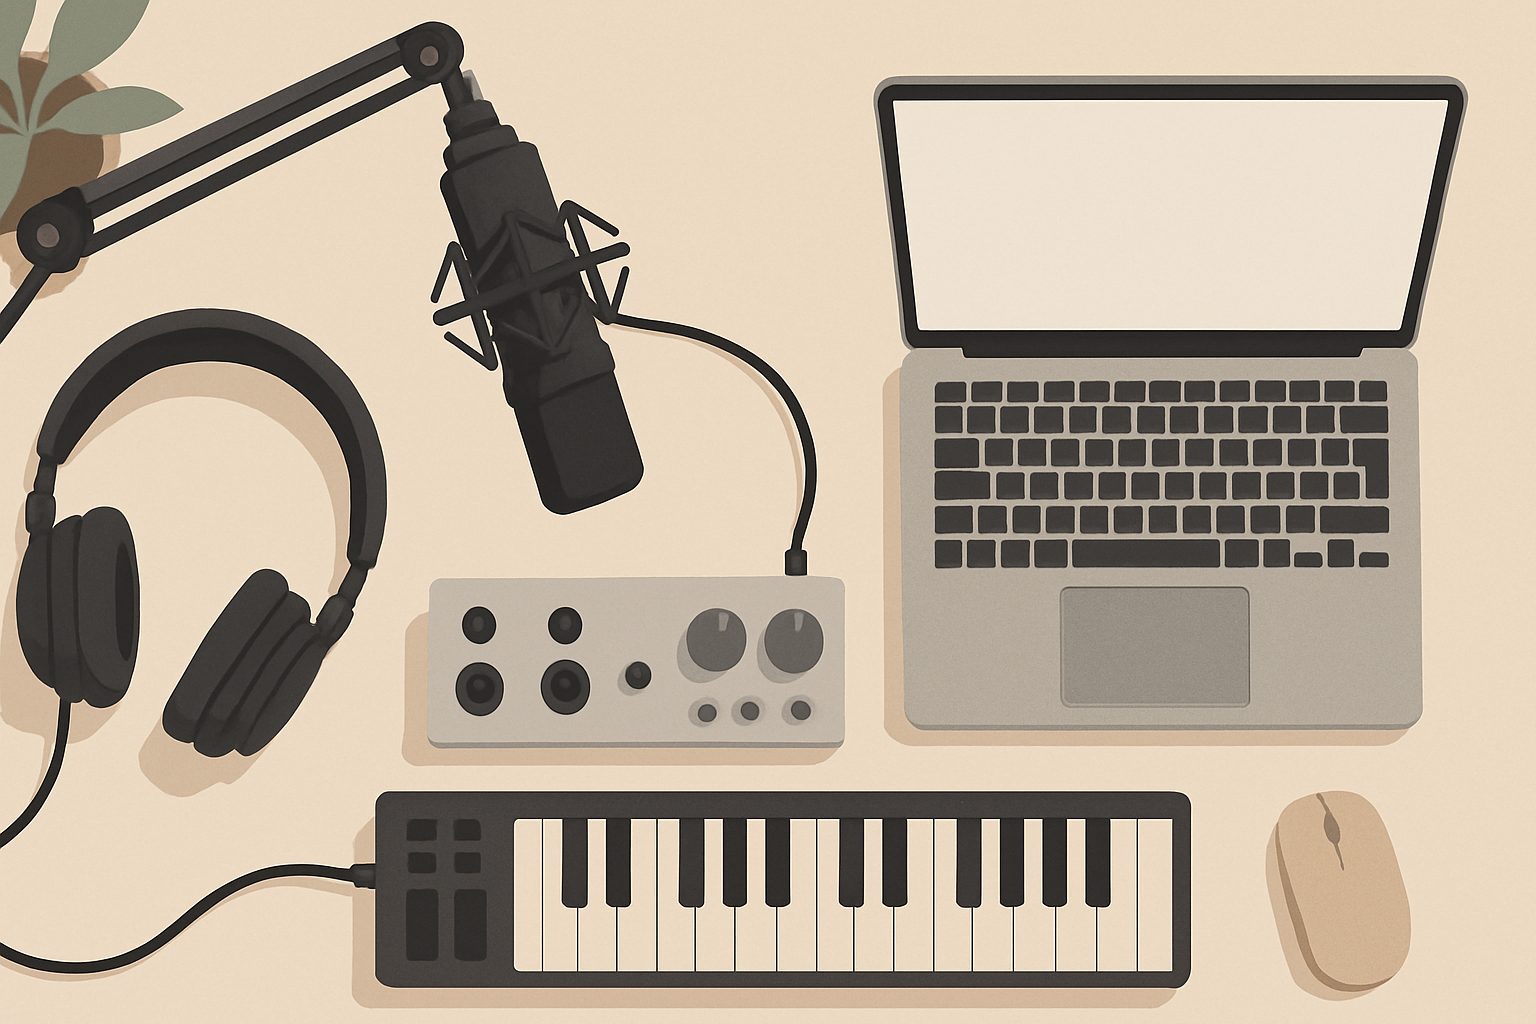
The core chain for vocal recording is straightforward: microphone → audio interface → computer → DAW (digital audio workstation). That's it. Beginners often overthink this, buying expensive accessories before they've recorded their first vocal. Start simple, add as you discover what's missing.
Your budget matters. A workable entry-level setup sits around £150–300. Mid-range (£500–1000) gets you noticeably better sound. Beyond that, you're often paying for refinement rather than fundamental improvement—which matters more once you've developed an ear for it.
Choosing a Microphone
For vocals, you have two realistic choices: cardioid large-diaphragm condenser mics or dynamic mics. Condensers are more common for home vocal recording because they pick up detail and warmth. They're also more sensitive to room reflections and handling noise, which matters in an untreated bedroom.
Dynamic mics (like a Shure SM7B's smaller cousins) reject more room noise naturally and forgive poor technique. They're harder to damage and work well if your space has hard walls and limited treatment. They also need more gain, which can introduce noise floor issues with cheaper interfaces.
For a beginner, a budget cardioid condenser (£60–120) will teach you more about your voice and environment than you'll learn any other way. You'll quickly work out whether you need something different.
USB condensers exist and skip the interface entirely, but they lock you into one computer and limit your upgrade path. Avoid them.
Audio Interface: The Vital Middle Step
Your interface converts analogue sound (from the mic) into digital data your computer understands. Cheap soundcards introduce noise and distortion. A proper USB audio interface is essential.
At entry-level (£80–150), look for interfaces with one XLR input, 48V phantom power (required for condensers), and either USB 2.0 or USB-C. Two-in/two-out is fine; you only need one mic input for vocals. Avoid interfaces designed purely for gaming—they're voiced differently and often lack proper gain control.
Mid-range interfaces (£200–400) add preamps that colour the sound (sometimes helpfully, sometimes not), better converters, and lower noise floors. Unless you're recording deliberately lo-fi, noise floor matters—it becomes obvious when you're sitting on a quiet vocal for 16 bars.
Your interface is one of the best investments you'll make. Unlike microphones, which are subjective and hard to resell, a solid interface will work with every setup you build later.
Setting Up Your Recording Space
Your bedroom will never sound like a treated studio. Accept that. What matters is controlling what you can.
Hard surfaces (glass, wood, plaster) bounce sound around; soft materials (carpet, curtains, clothes) absorb it. A vocal booth doesn't need to be fancy. Many home recordists build one from an old wardrobe, MDF panels, or even mattresses. The goal isn't silence—it's killing reflections so your vocal doesn't bounce back into the microphone and sound hollow or roomy.
Position your mic at least 30cm from any wall and away from hard floors if possible. Point the back of the mic at your main noise source (traffic outside, computer fan) rather than the front. A pop filter (£10–20) reduces plosives—those harsh P and B sounds that can distort your preamp.
Choosing Recording Software
You need a DAW (digital audio workstation) to record and arrange audio. Entry-level options:
Free: Audacity, GarageBand (Mac), Cakewalk by BandLab. These are genuinely capable for single-track vocals. No time limits, no paywalls.
Paid entry-level (£50–150 one-time): Reaper, Studio One Artist, Cubase Elements. These add MIDI support, better editing, and plugin compatibility. Reaper is excellent value and widely used by professionals.
Subscription (£10–15/month): Ableton Live, Logic Pro, FL Studio. These suit producers more than pure vocalists, but they work fine for vocal recording.
For your first vocal recording, free software is genuinely adequate. You'll learn whether you need more features before spending money.
Recording Your Vocal: Practical Steps
Set your interface input level so the signal peaks around −12 to −6 dB on your meters. Too hot and you'll clip (sound distorted). Too quiet and you'll struggle with background noise. Record multiple takes and comp them together (cut and paste the best bits). It's faster than trying to nail one perfect take.
Give yourself space. Don't monitor yourself while recording (hearing your voice delayed by even a few milliseconds throws you off). Use a headphone mix that sits your vocal slightly under the backing track.
Leave 2–3 seconds of silence before and after each take. It makes editing cleaner and gives your DAW breathing room.
Next Steps
Your first vocal recordings will surprise you—probably not in the way you hoped. You'll hear room reflections, breathy plosives, and a voice that sounds nothing like you imagined. This is normal. Most of it comes from positioning and technique, not equipment.
Record 10 takes. Edit them ruthlessly. Listen on cheap headphones and good speakers, not just what felt good in the moment. Then decide what actually needs upgrading.
More options
- Focusrite Scarlett Series Audio Interfaces (Amazon UK)
- Yamaha & Adam Audio Studio Monitors (Amazon UK)
- Audio-Technica & Rode Condenser Microphones (Amazon UK)
- Acoustic Foam Treatment Panels (Amazon UK)
- Arturia & Akai MIDI Keyboards and Controllers (Amazon UK)