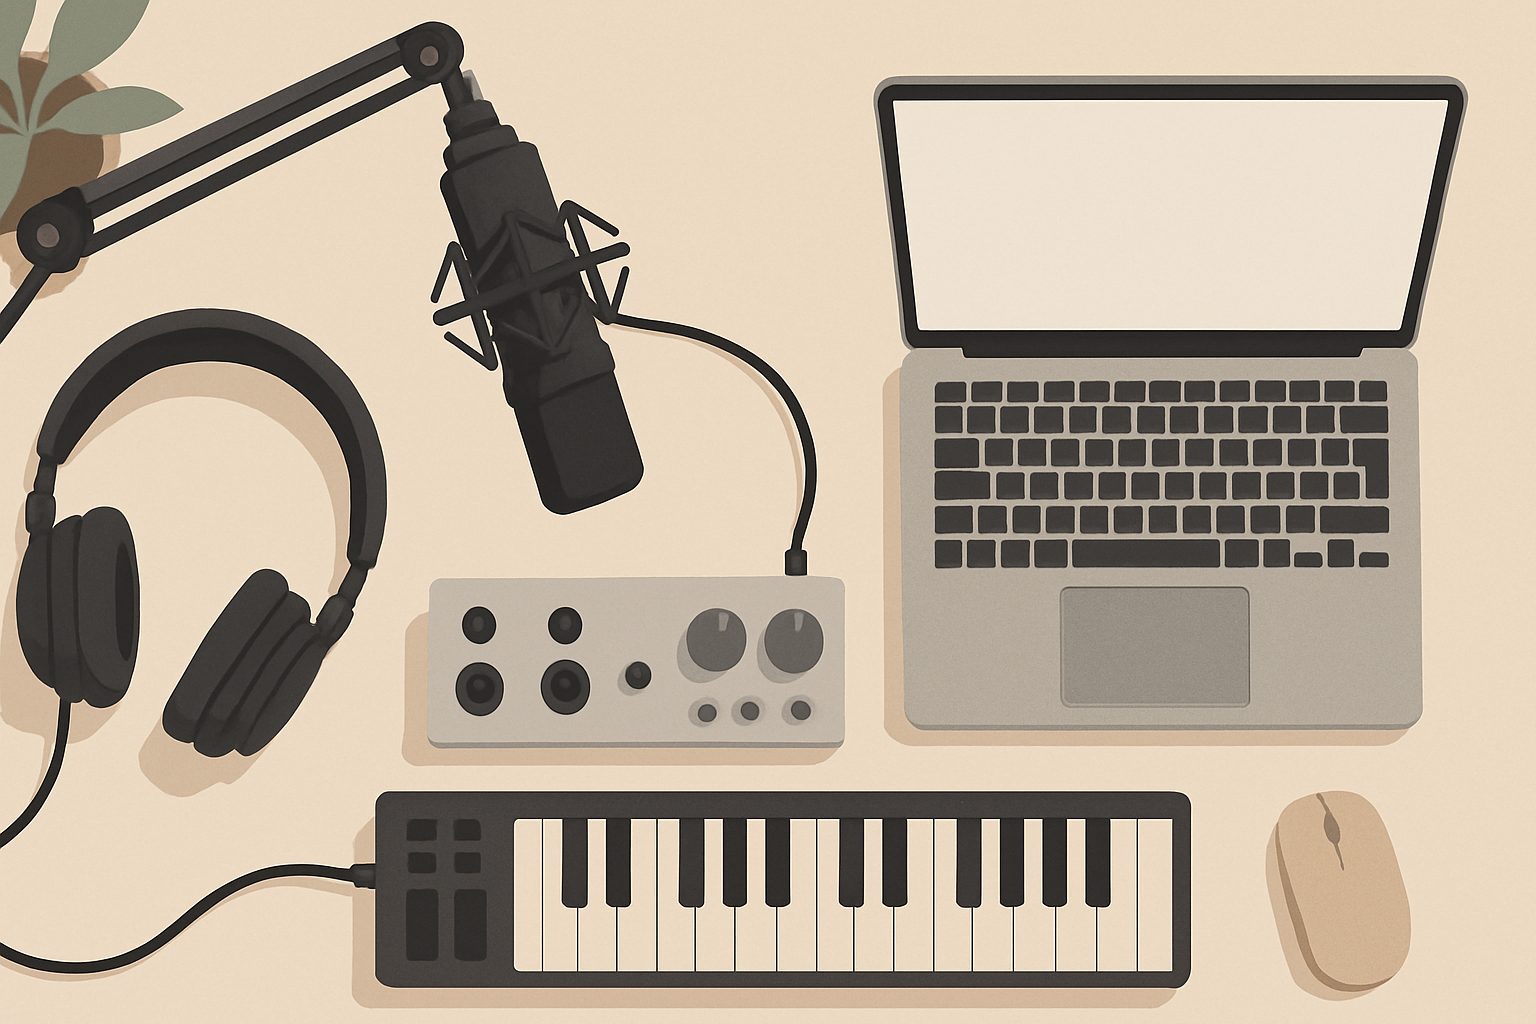
Home Recording Studio Setup Guide for Beginners UK (2025): Everything You Need
So you want to start recording at home. Whether you're a musician, podcaster, or content creator, a decent home studio is now genuinely affordable in the UK. But it's easy to waste money on gear you don't need or buy cheap equipment that'll frustrate you within weeks.
This guide walks you through exactly what you need, what you can skip, and how to build something that actually produces good results without remortgaging the house.
What You Actually Need
A working home studio needs four things: a way to capture sound, a way to hear it, something to record into, and somewhere quiet enough to work. Everything else is refinement.
You don't need:
- A separate building (bedroom, spare room, or even a cupboard works)
- Thousands of pounds in gear (most useful setups cost £300–£1,000)
- Acoustically perfect walls (treatment comes later)
- All the plugins and software
Start with the fundamentals and add gear as you learn what you actually need.
The Microphone
This is where you spend the most money, and rightly so. A decent mic matters more than anything else in your chain.
For beginners, you've got two main routes: USB condenser microphones or XLR condensers with an audio interface. USB mics are plug-and-play; XLR setups give you more flexibility later.
USB mics (Audio-Technica AT2020 USB+, Rode NT-SF1, Blue Yeti) cost £80–£180 and work straight out of the box. They're great for podcasting and voiceover work, though the built-in preamps aren't as good as a proper interface.
XLR condensers (Audio-Technica AT2020, Rode NT1-A, Behringer B-1) run £60–£180 for the mic alone, but you'll need an audio interface to use them. The advantage is you're not locked into USB, and you can upgrade the interface later without replacing the mic.
For most UK beginners, start with either a USB mic if you want simplicity, or an AT2020 with an interface if you think you'll be doing this seriously.
The Audio Interface
If you're going XLR, you need an interface to convert analogue signal to digital. This doesn't need to be fancy. A two-input USB interface (Focusrite Scarlett 2i2, Audient iO2, Behringer U-Phoria UMC202HD) costs £60–£130 and does everything a beginner needs.
Look for:
- 2 inputs (one mic, one line-in for guitar or synth)
- Decent preamp gain (you want clean amplification, not noise)
- USB bus-powered (no extra power supplies)
- Works with your OS (most do, but check before buying)
The Scarlett 2i2 and Audient iO2 are reliable choices that won't let you down. The Behringer is cheaper and surprisingly solid if you're on a tight budget.
Headphones and Monitors
You need to hear what you're recording. Headphones are essential; monitors are optional but useful.
Headphones should be closed-back (so sound doesn't leak into your mic) and relatively flat (so you hear what's actually there, not coloured bass). Audio-Technica ATH-M40X, Beyerdynamic DT 770, and Sennheiser HD 280 Pro are standard choices, all under £100. They'll feel less exciting than consumer headphones but translate better to other systems.
Monitors (studio speakers) let you hear your mix in the room rather than just your headphones. A matched stereo pair costs £150–£300. Look for compact 4-inch woofers from brands like Kali Audio, Presonus, or IK Multimedia. Honestly, skip these initially—good headphones are enough to start with. Add monitors once you understand how your room colours the sound.
Microphone Accessories
You need a few small things:
- Pop filter (£15–£40): Reduces plosive sounds and keeps spit off your capsule. Worth the money.
- Boom arm or stand (£20–£50): Frees up desk space and gives you flexibility. A Rode PSA1 is the standard choice.
- Shock mount (£10–£30): Isolates the mic from vibrations. Many mics come with basic ones.
- XLR cables (£5–£10 each): Get two—one for your mic, one spare.
Acoustic Treatment
Your room is part of your sound. Hard, reflective surfaces create echo and coloration. You don't need expensive panels everywhere, but basic treatment helps.
Start with:
- Heavy curtains on windows (reduces echo, cheaper than panels)
- A couple of acoustic foam panels behind the mic (absorbs reflections)
- Rugs or soft furnishings (carpet matters more than you'd think)
Purpose-made panels (Primacoustic, GIK Acoustics) run £40–£100 each, but heavy curtains and strategically placed soft furniture do 70% of the job for a fraction of the cost.
Recording Software (DAW)
You need a Digital Audio Workstation—software where you actually record and edit.
Free options that work well:
- Reaper: Not free technically (£60 licence) but has a 60-day unlimited trial, and many people run it on trial indefinitely. Full-featured and UK-friendly pricing.
- Audacity: Genuinely free, works for multitrack recording and editing, though less polished than paid options.
- BandLab: Cloud-based and free, good for collaboration.
Paid options start around £100–£300 (Ableton Live, Logic Pro, Studio One). Start free, upgrade when you know what you need.
Budget Breakdown
Minimal setup (£300–£500):
- USB condenser mic or XLR mic + interface
- Closed-back headphones
- Boom arm and pop filter
Solid beginner setup (£600–£1,000):
- XLR condenser mic (AT2020 range)
- Quality audio interface (Scarlett 2i2 or Audient iO2)
- Proper closed-back headphones
- Basic acoustic treatment (panels or heavy curtains)
- Boom arm, shock mount, pop filter
More comfortable (£1,000–£1,500):
- Everything above, plus a pair of compact monitors
- Better microphone (NT1-A or upgrade within your budget)
Don't spend more than this starting out. Honestly, most of what matters happens in the first £600.
Common Mistakes
- Buying cheap Chinese interfaces that introduce electrical noise
- Skipping the pop filter and spending hours trying to fix plosives in editing
- Recording in a completely reflective room and wondering why it sounds like a bathroom
- Buying a fancy microphone before you have a decent interface
- Assuming bedroom proximity means you don't need headphones
Next Steps
Once your basic setup is working:
- Learn how to place your mic properly (distance, angle, room position matter hugely)
- Get comfortable with your DAW—don't jump between software
- Record tests, listen on multiple devices, learn how your room actually sounds
- Add acoustic treatment or monitors when you understand what's missing
- Upgrade the mic or interface when you've hit the limits of your current gear
A home studio isn't built in a day. Start simple, learn the fundamentals, and expand from there.
More options
- Focusrite Scarlett Series Audio Interfaces (Amazon UK)
- Yamaha & Adam Audio Studio Monitors (Amazon UK)
- Audio-Technica & Rode Condenser Microphones (Amazon UK)
- Acoustic Foam Treatment Panels (Amazon UK)
- Arturia & Akai MIDI Keyboards and Controllers (Amazon UK)