Best XLR Microphone Cables and Studio Accessories UK 2025
When you're setting up a home recording studio, the microphone itself gets all the attention. But here's what most beginners overlook: a cheap cable or flimsy stand can undermine even a decent microphone. If you're recording vocals on a budget, the accessories you choose matter almost as much as the mic itself.
Why Your XLR Cable Actually Matters
This is the bit that surprises people. A poor-quality XLR cable introduces hum, noise, and intermittent signal loss. You'll spend hours troubleshooting what feels like a microphone problem when the real culprit is a £3 cable from a discount electronics shop.
Mogami Gold cables are the standard in UK home studios. They're built with properly shielded conductors and sturdy connectors that won't fail after a year of use. A 6-metre Mogami costs around £15–20, which feels expensive until you realise you'll still be using it in five years. The quad-core construction handles the electromagnetic interference that plagues smaller UK rooms and flats.
Van Damme XLR cables are the UK-made alternative and genuinely excellent. They're often cheaper than Mogami (£8–12 for 6 metres) and handle real-world studio conditions just as well. Many engineers swear by them, and there's no reason not to—they're made in the UK and the quality control is reliable.
Avoid unbranded cables entirely. They might work once, but the connectors oxidise, the shielding separates, and noise creeps in. It's a false economy.
Pop Filters: Small Investment, Huge Impact
A pop filter sits between you and the microphone, absorbing plosives—those harsh "P" and "B" sounds that cause digital clipping in recordings. For vocal recording, they're essential, not optional.
You don't need an expensive one. A simple circular nylon mesh (£5–8) on a gooseneck clamp does the job. The Neumann-style designs popular in UK studios are marginally better if you're working with a condenser mic on a tight budget—the double-mesh design diffuses plosives more evenly.
What matters: the filter sits about 10–15 cm from the microphone and isn't so restrictive that it sounds muffled. Cheap ones often have flimsy goosenecks that droop, which changes the acoustics mid-session. Spend the extra £3 for a rigid one.
Microphone Stands: Stability Is Everything
A wobbly stand picks up vibration from footsteps, keyboard clicks, and desk movement. If you're recording vocals in a bedroom, a solid stand isolates your voice from all that environmental noise.
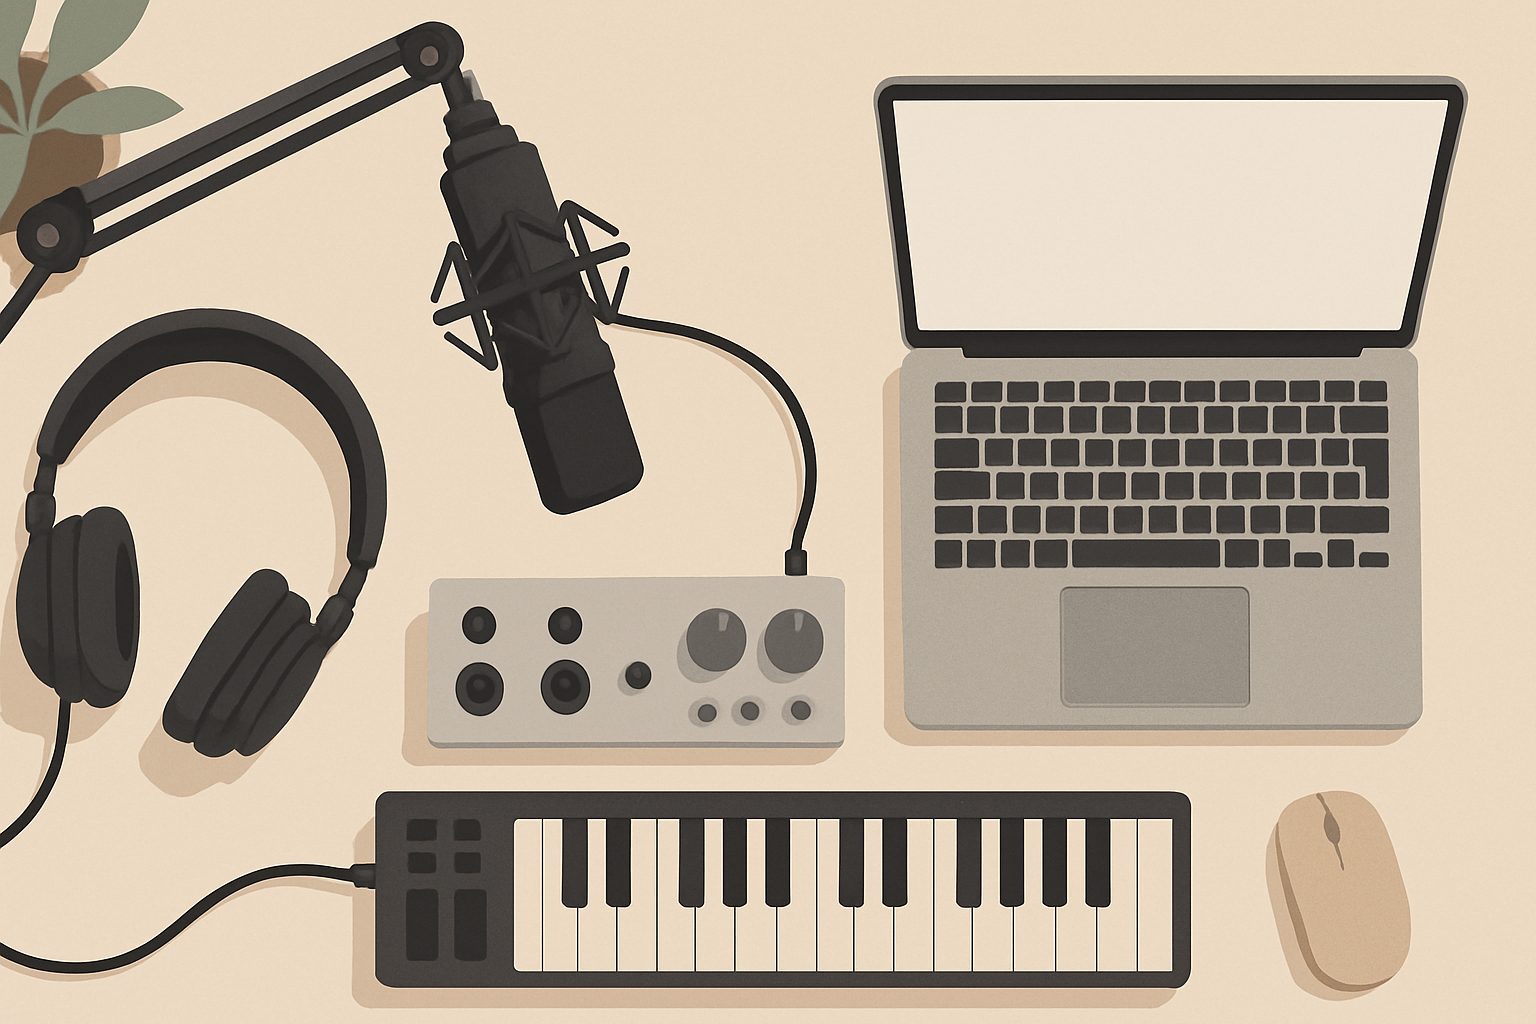
Boom arms with counterweights are the standard for home recording. They position the microphone exactly where you need it without occupying desk space. A decent boom arm costs £15–25 and makes a genuine difference to workflow. When recording multiple takes, you can adjust height and angle without moving your chair.
Boom arm springs and clips are often overlooked. A cheap clip that grips unevenly will rotate the microphone slightly during recording, changing the tone between takes. Buy a proper isolation clip (£8–12) that's sized for your microphone.
Shock Mounts: The Vibration Barrier
Even on a solid boom arm, your microphone will pick up structural vibration—footsteps from upstairs, nearby traffic, or your own movements. A shock mount decouples the microphone from the stand using elastic suspension.
For budget setups, a basic elastic-band design (£6–10) works surprisingly well. The microphone sits inside a cradle suspended by elastic bands that isolate it from vibration below about 50 Hz. That's where most environmental rumble lives.
More expensive mounts use precision-engineered springs, but for home vocal recording, you won't hear a meaningful difference. What you will hear is the absence of rumble that ruins takes.
What to Actually Prioritise
If you're on a tight budget, prioritise in this order:
- A quality XLR cable – this affects every recording you make.
- A pop filter – absolutely essential for vocal clarity.
- A shock mount – stops vibration from dominating your recordings.
- A boom arm – makes recording comfortable and consistent.
You can get all four for under £60 if you choose wisely. A decent microphone plus these four accessories will outperform an expensive microphone with cheap or missing accessories.
Final Thoughts
The myth that "better gear = better recordings" keeps people chasing expensive microphones. The reality is that a £40 condenser microphone with proper cables, a pop filter, shock mount, and stand will sound better than a £300 microphone balanced on a pencil stand with a cheap cable.
These accessories are genuinely the difference between recordings that sound amateur and recordings that sound professional. In UK home recording, where space is limited and environmental noise is unavoidable, getting them right matters even more.
Invest in the fundamentals. The microphone can wait.
More options
- Focusrite Scarlett Series Audio Interfaces (Amazon UK)
- Yamaha & Adam Audio Studio Monitors (Amazon UK)
- Audio-Technica & Rode Condenser Microphones (Amazon UK)
- Acoustic Foam Treatment Panels (Amazon UK)
- Arturia & Akai MIDI Keyboards and Controllers (Amazon UK)